DragGAN: Early Access and Local Deployment Tutorial
May 25, 2023
DragGAN, which has recently become popular across the internet, does not have its official code released yet. However, it is now available for early access experience
Project Pages
- Zeqiang-Lai/DragGAN: Code and Checkpoints, Local Deployment, Colab Demo.
- OpenGVLab/InternGPT: Free Online Demo Integration.
Online Demo #
⚠️ Note for Colab, remember to select a GPU via Runtime/Change runtime type
Local Deployment - Pip Install Approach #
The following image demonstration uses Windows deployment as an example, but the deployment process is the same for Linux as well.
Currently, the implementation of
Zeqiang-Lai/DragGAN has been uploaded to the PyPI repository. Therefore, there is no need to download the code; you can simply install it using pip install.
Installing Conda #
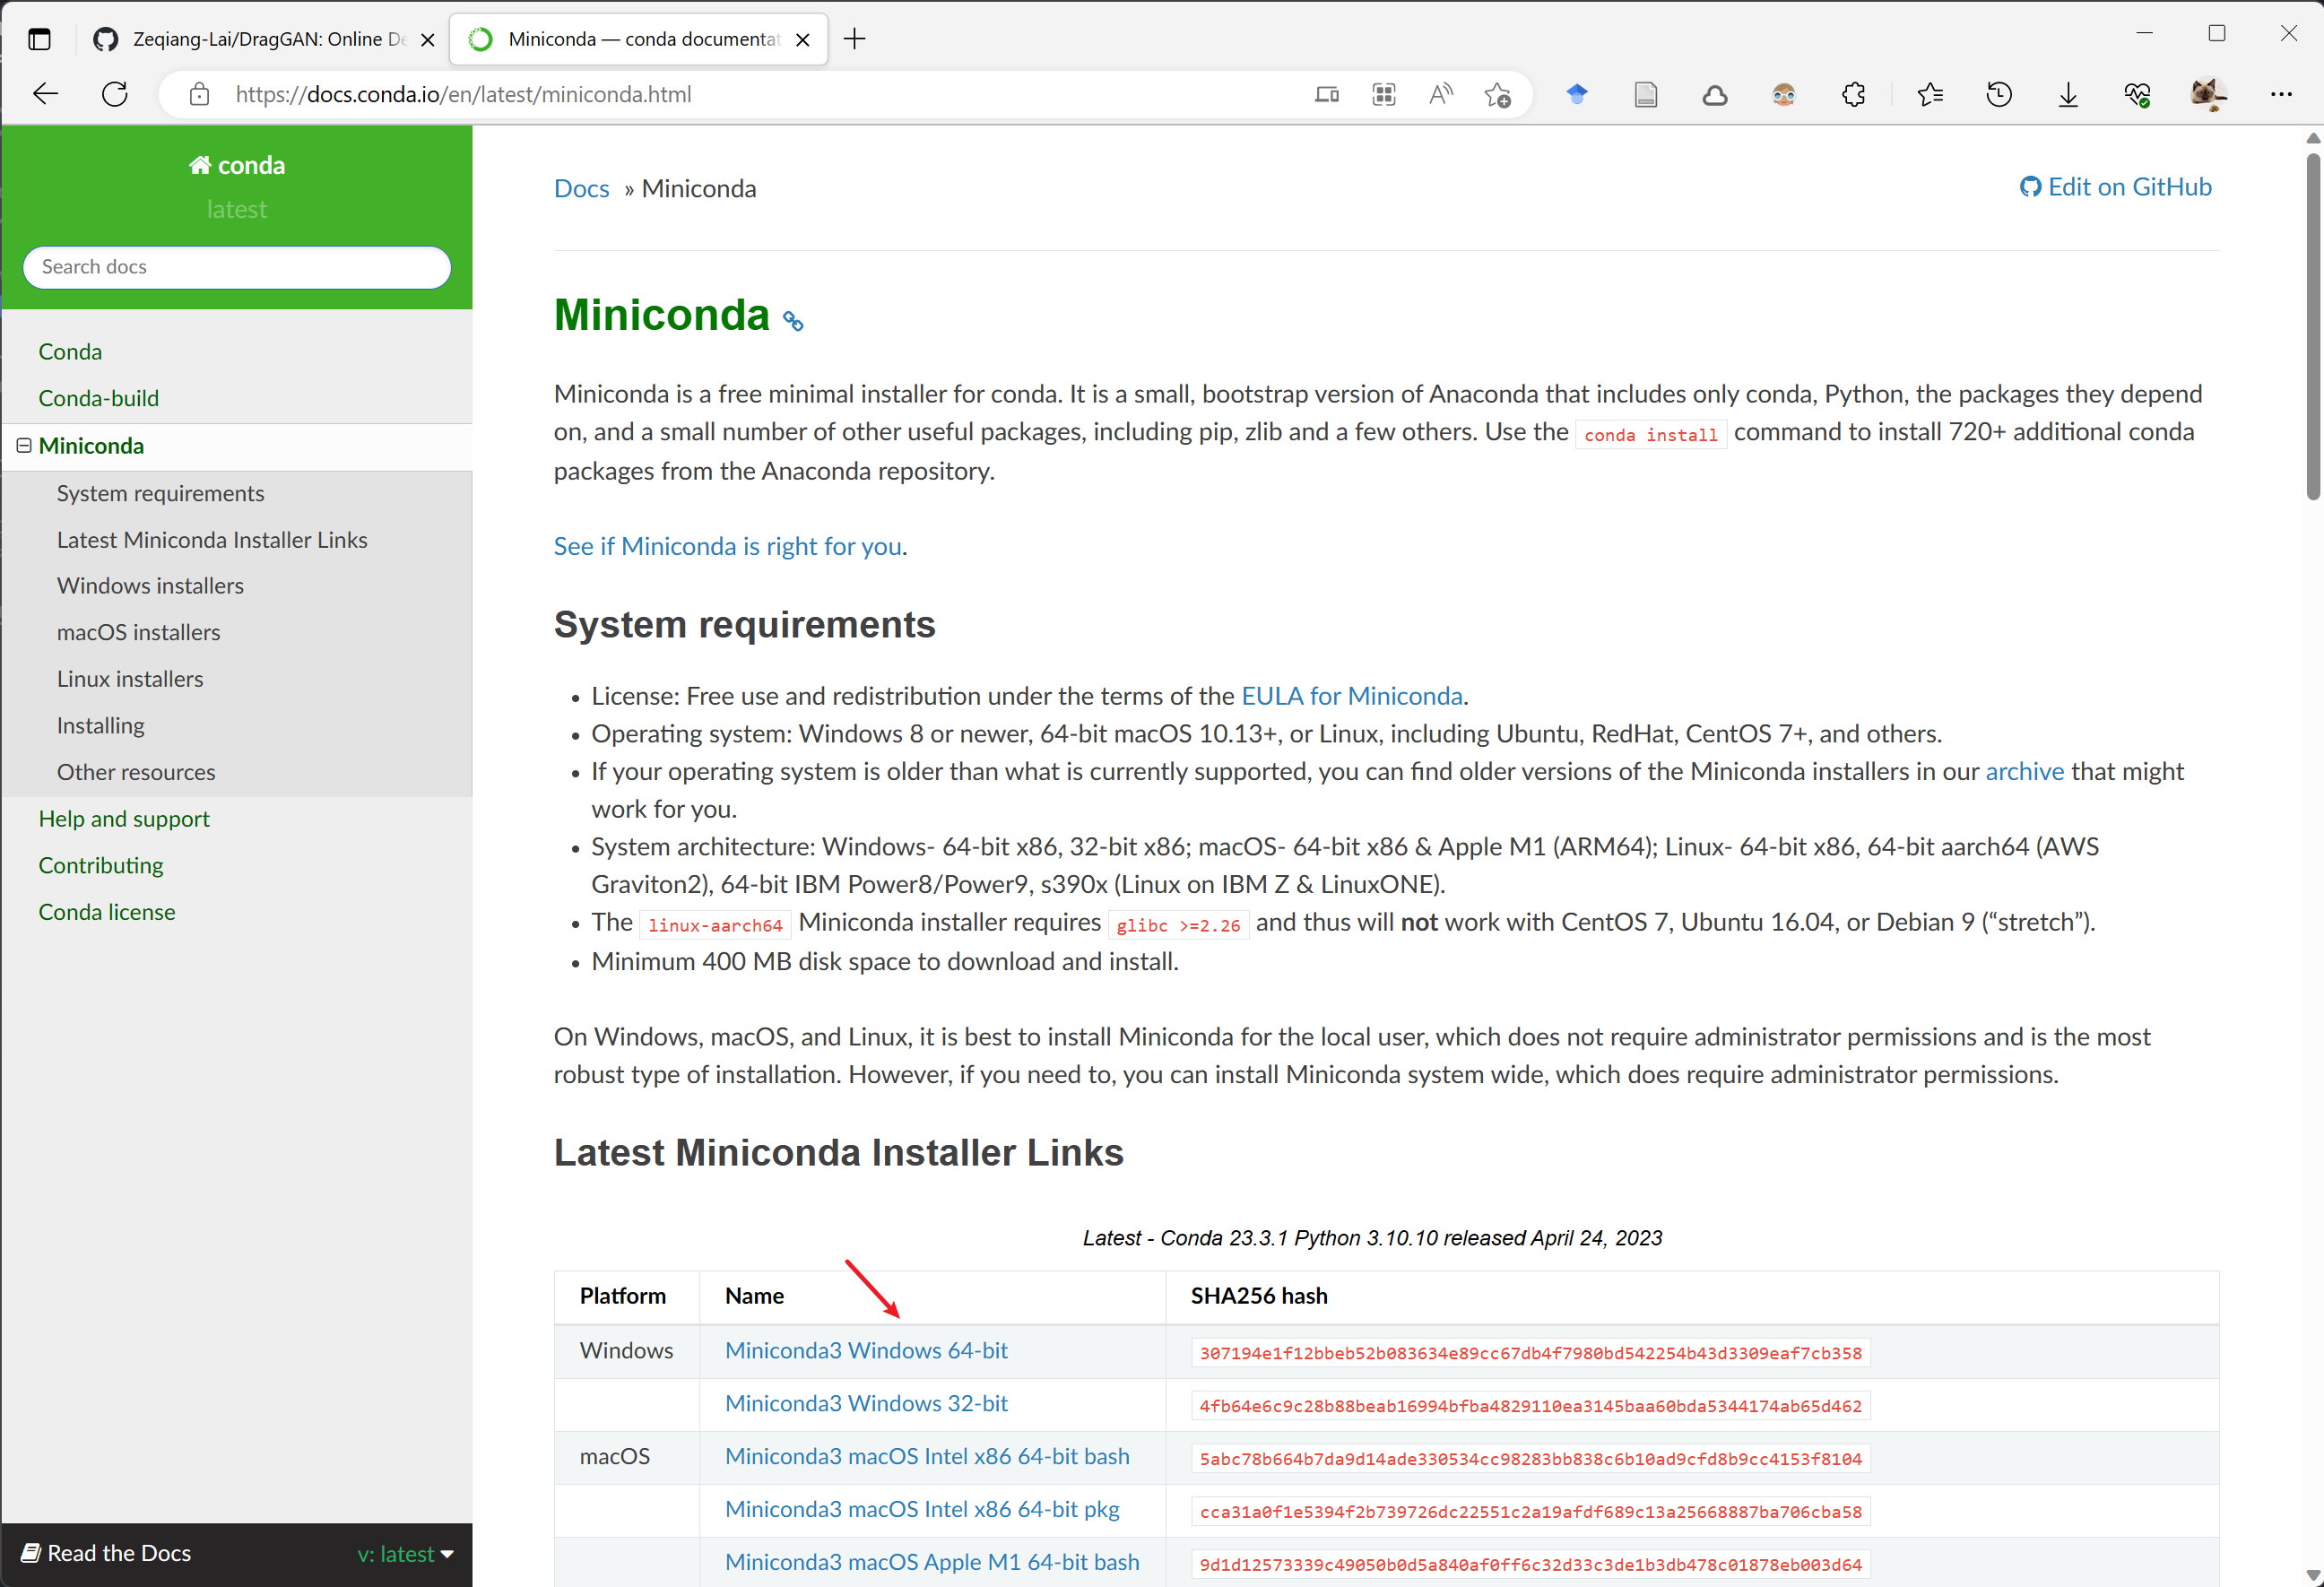
To avoid dependency conflicts, we first create a virtual environment using Conda. If you haven’t installed Conda yet, you can download Miniconda from here.
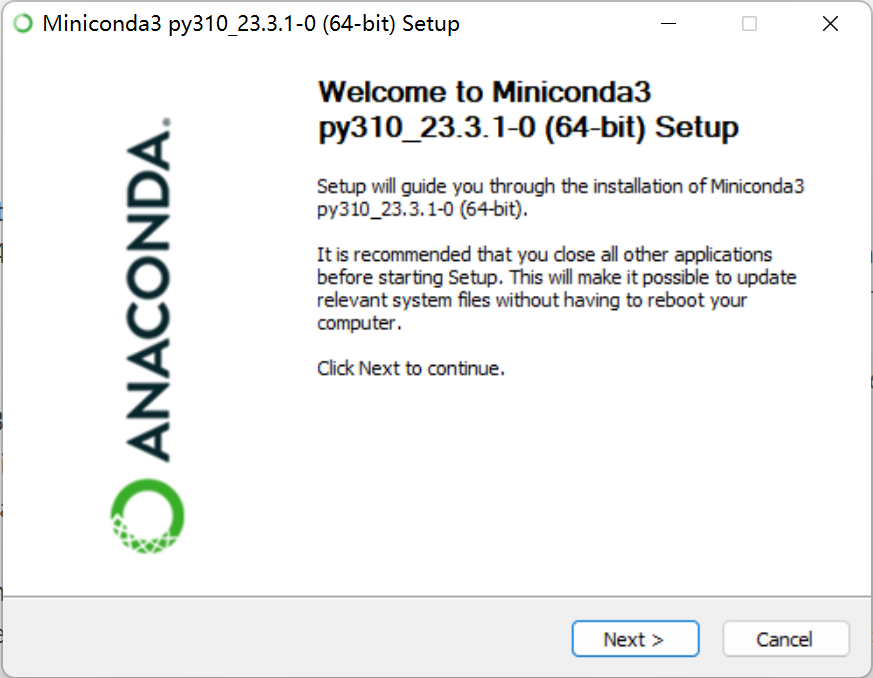
下载完成后,点击安装包一直下一步就可以了。
Creating Conda Virtual Environment #
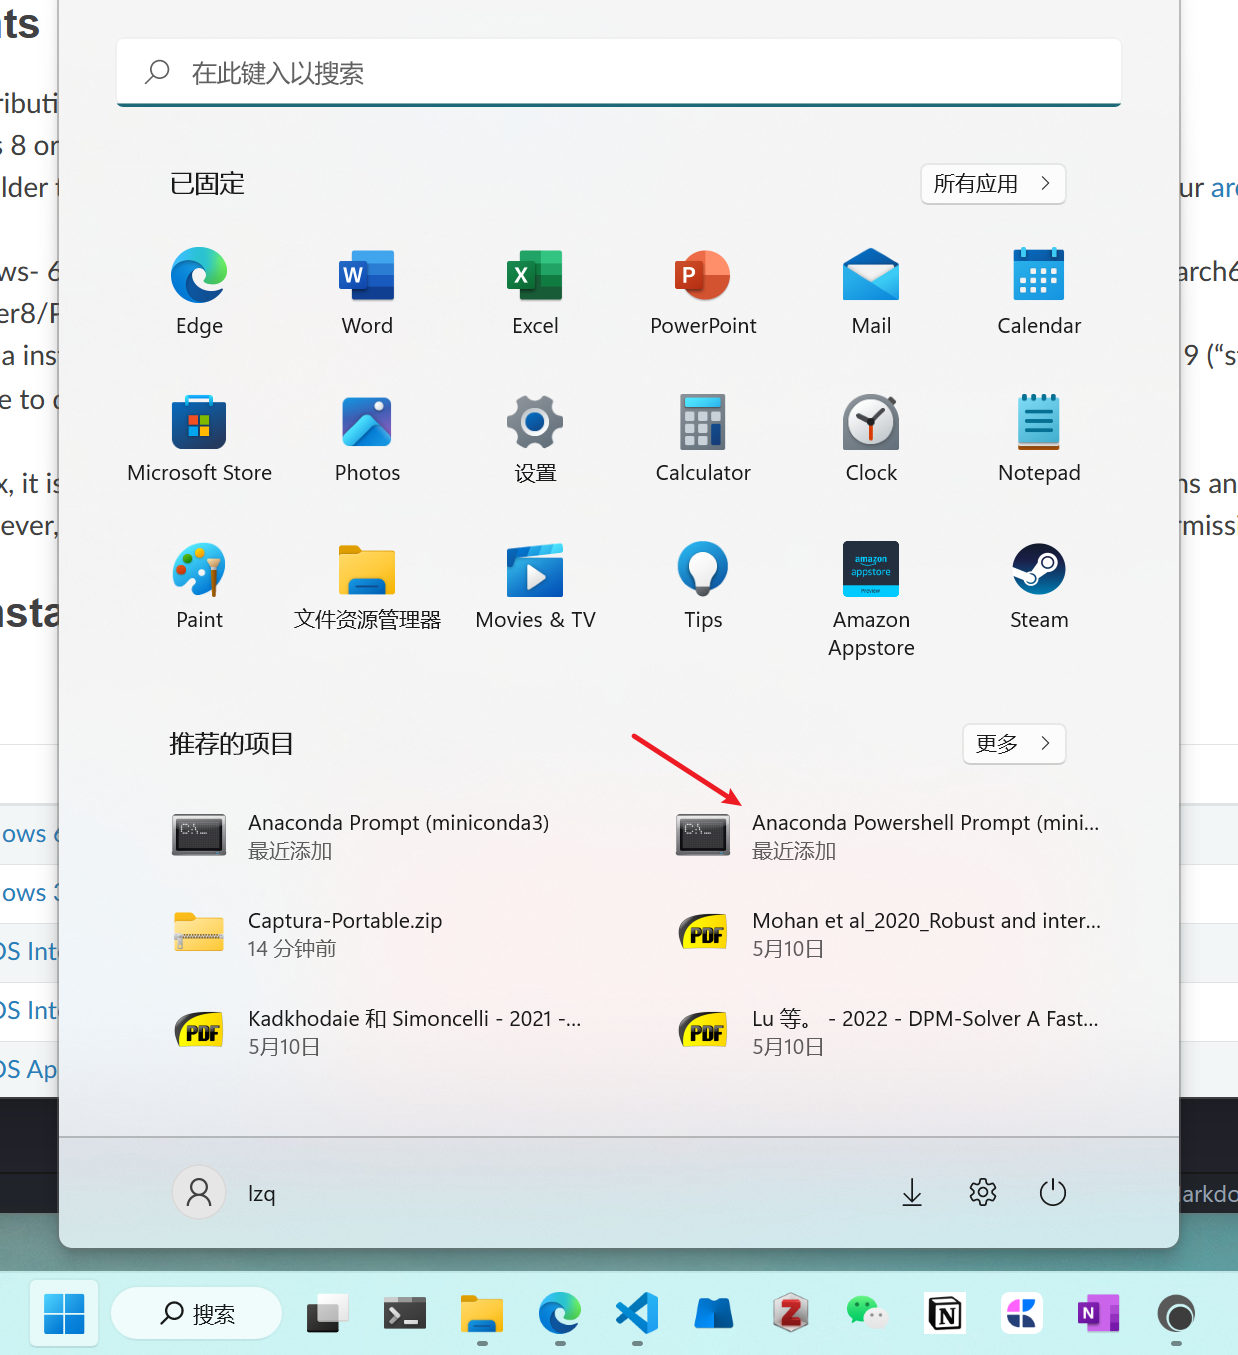
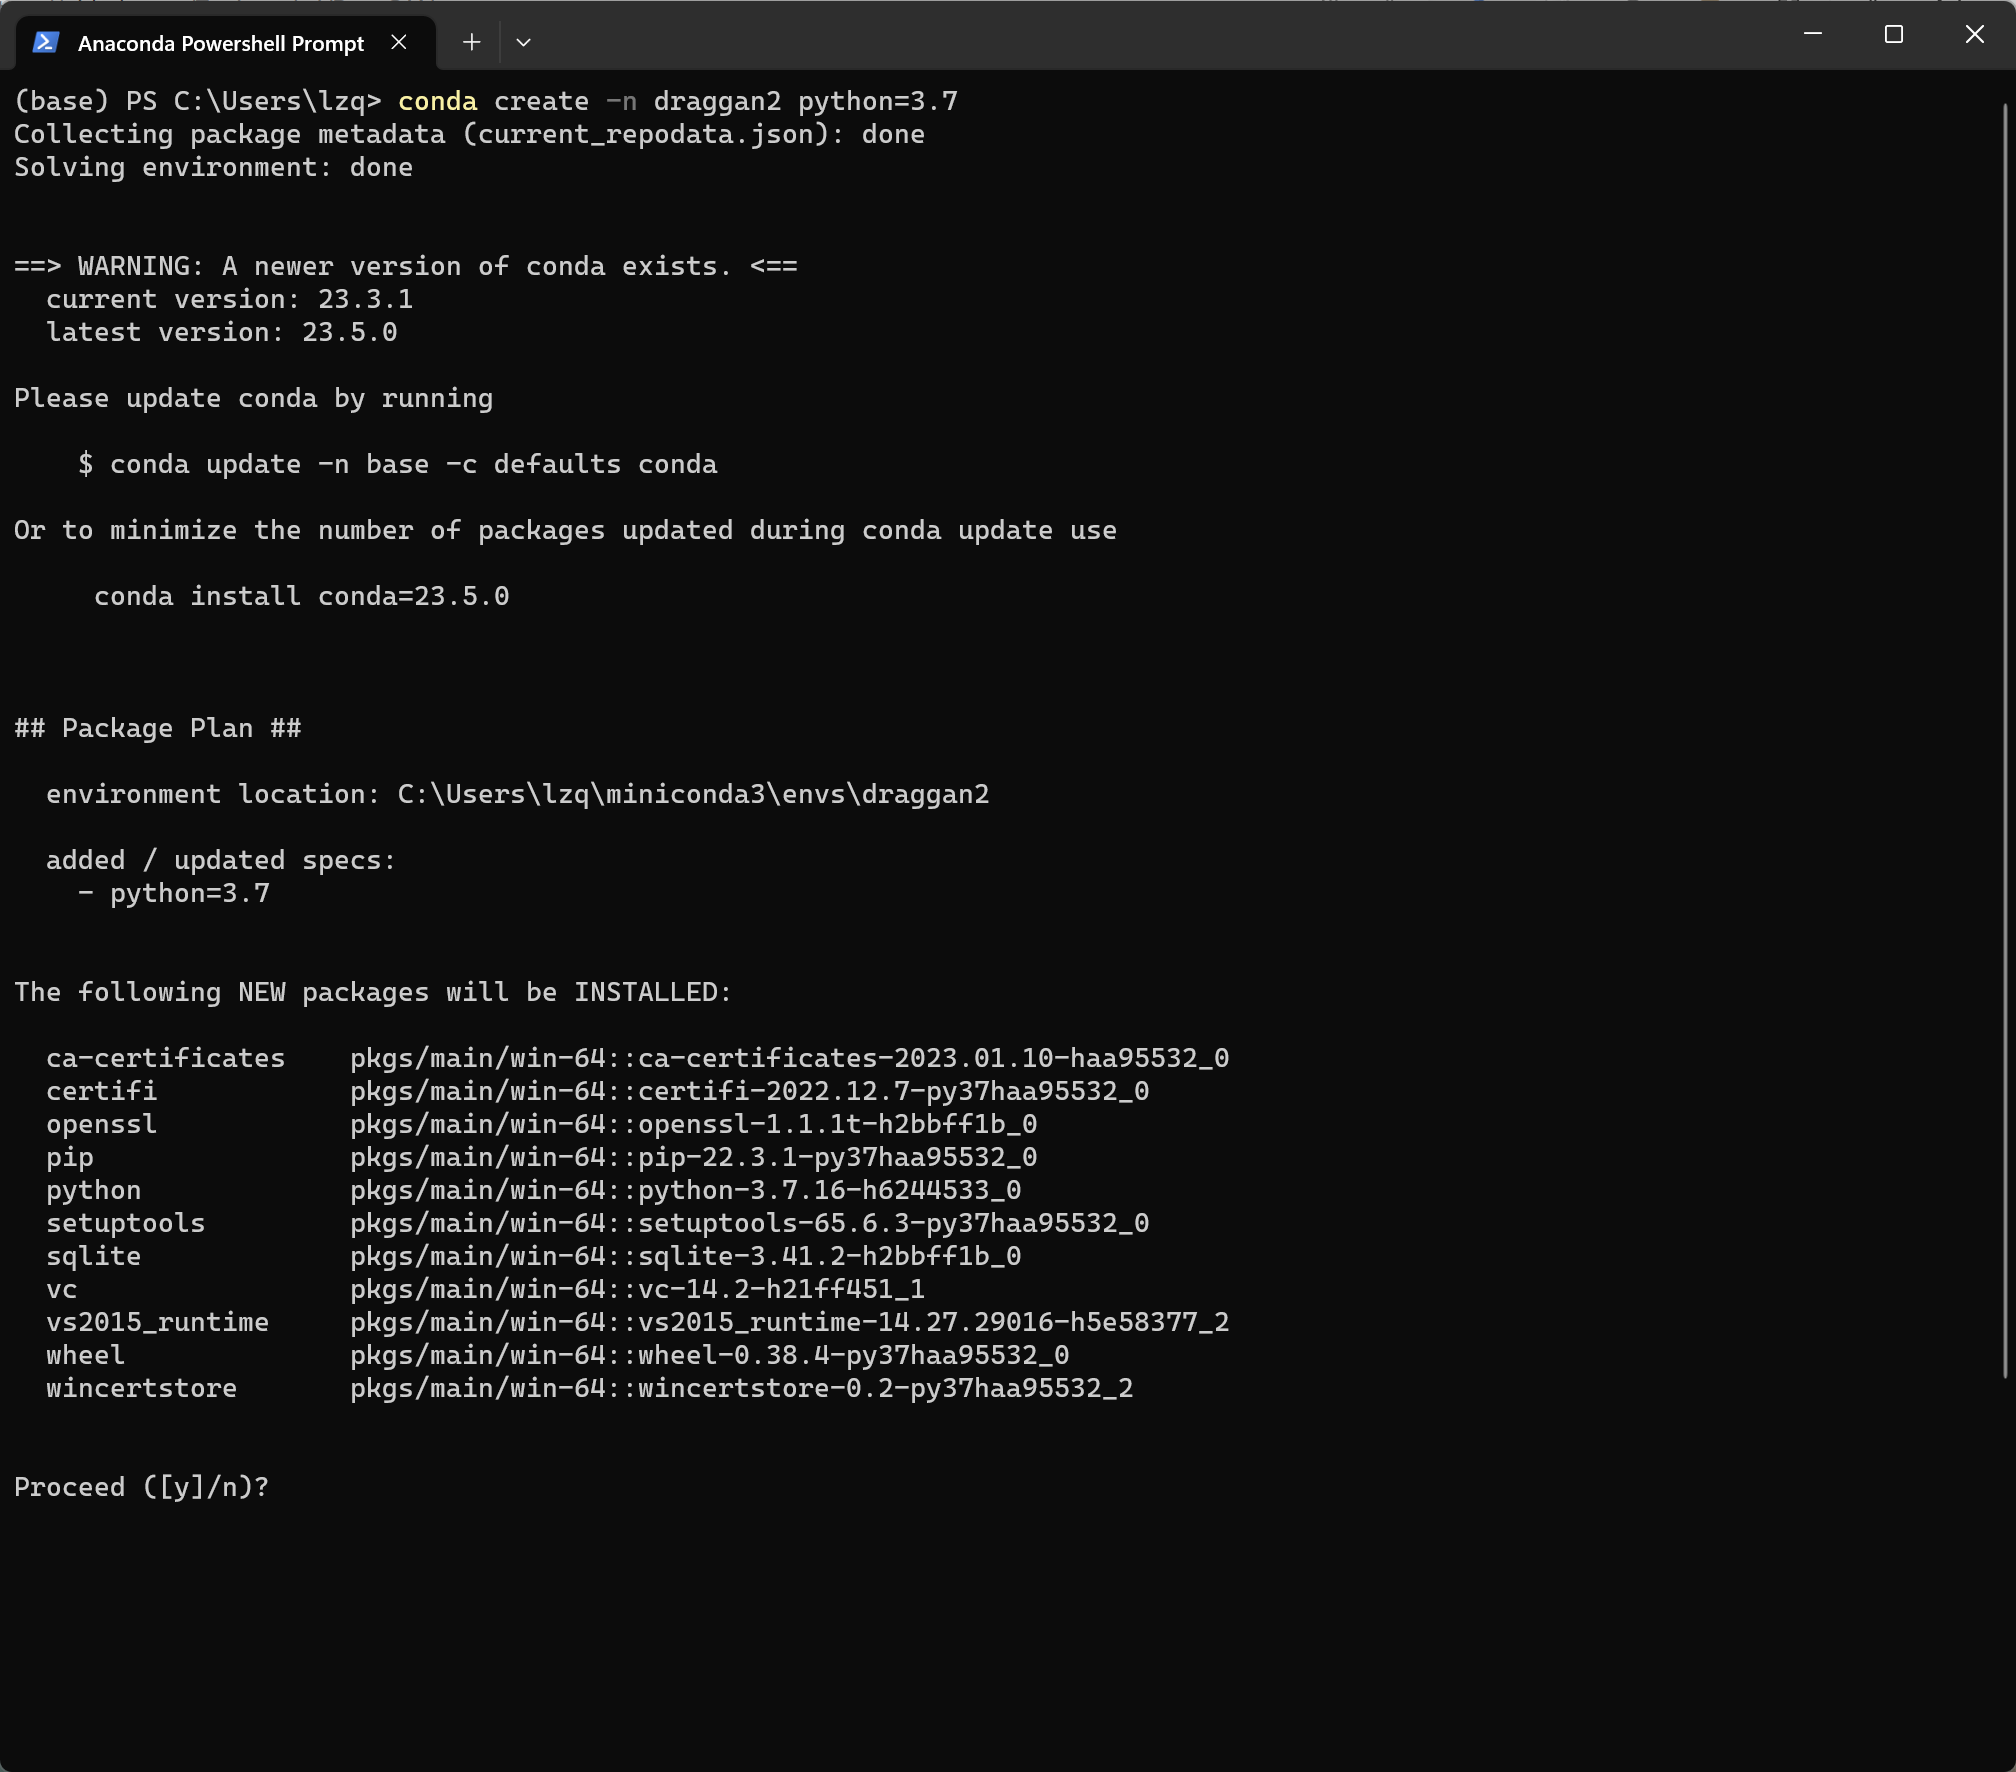
Next, select “Anaconda Powershell Prompt (miniconda3)” from the Windows menu bar to access the Conda command line.
Once inside, enter the following command to create an environment named draggan with Python version 3.7. When prompted to proceed, enter y to continue.
conda create -n draggan python=3.7
Since I already have an environment named “draggan,” the image shows “draggan2” instead.
Installing PyTorch #
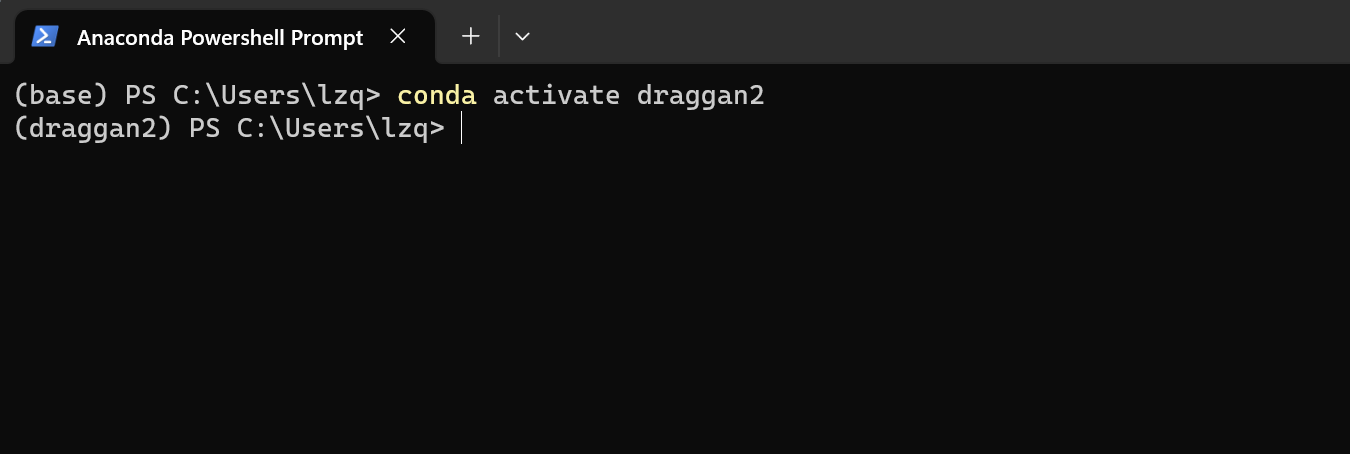
Let’s activate the newly created environment by entering the following command:
conda activate draggan
Next, refer to the official PyTorch installation guide.
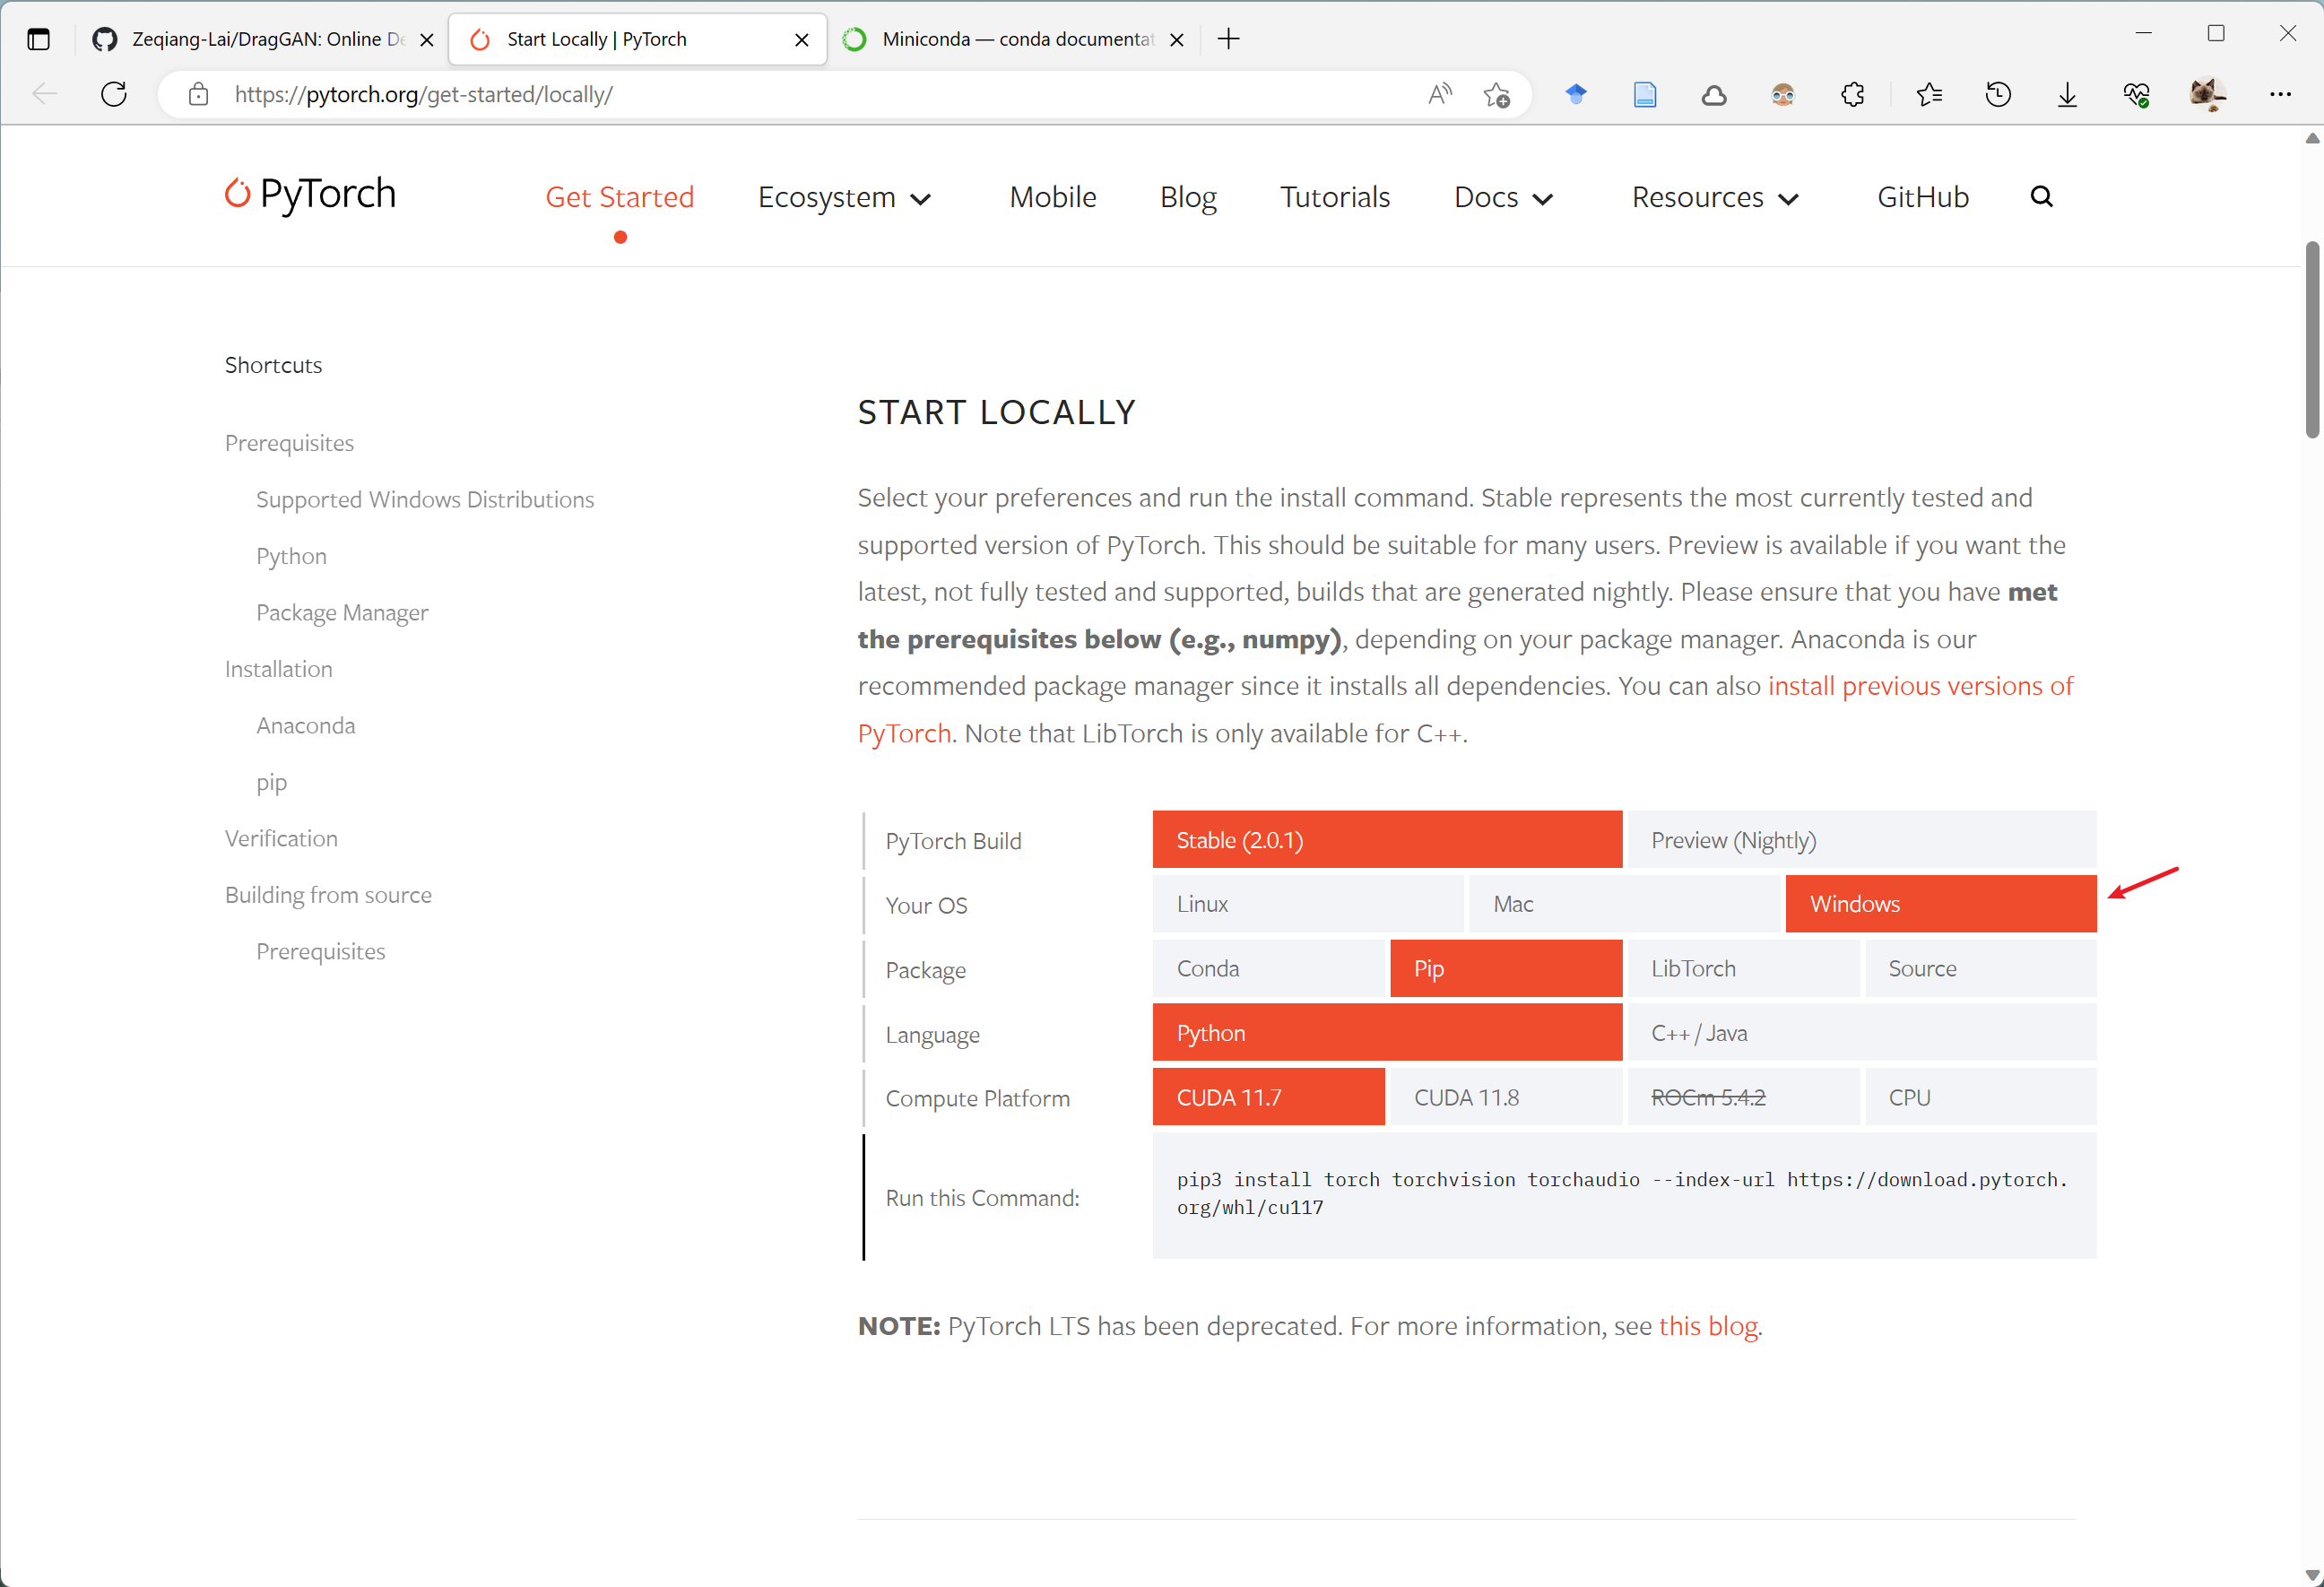
You can install PyTorch using either of the following commands (choose one), depending on your preferred download speed:
pip3 install torch torchvision torchaudio --index-url https://download.pytorch.org/whl/cu117

conda install pytorch torchvision torchaudio pytorch-cuda=11.7 -c pytorch -c nvidia
For users without a GPU, use the following command for installation:
pip3 install torch torchvision torchaudio
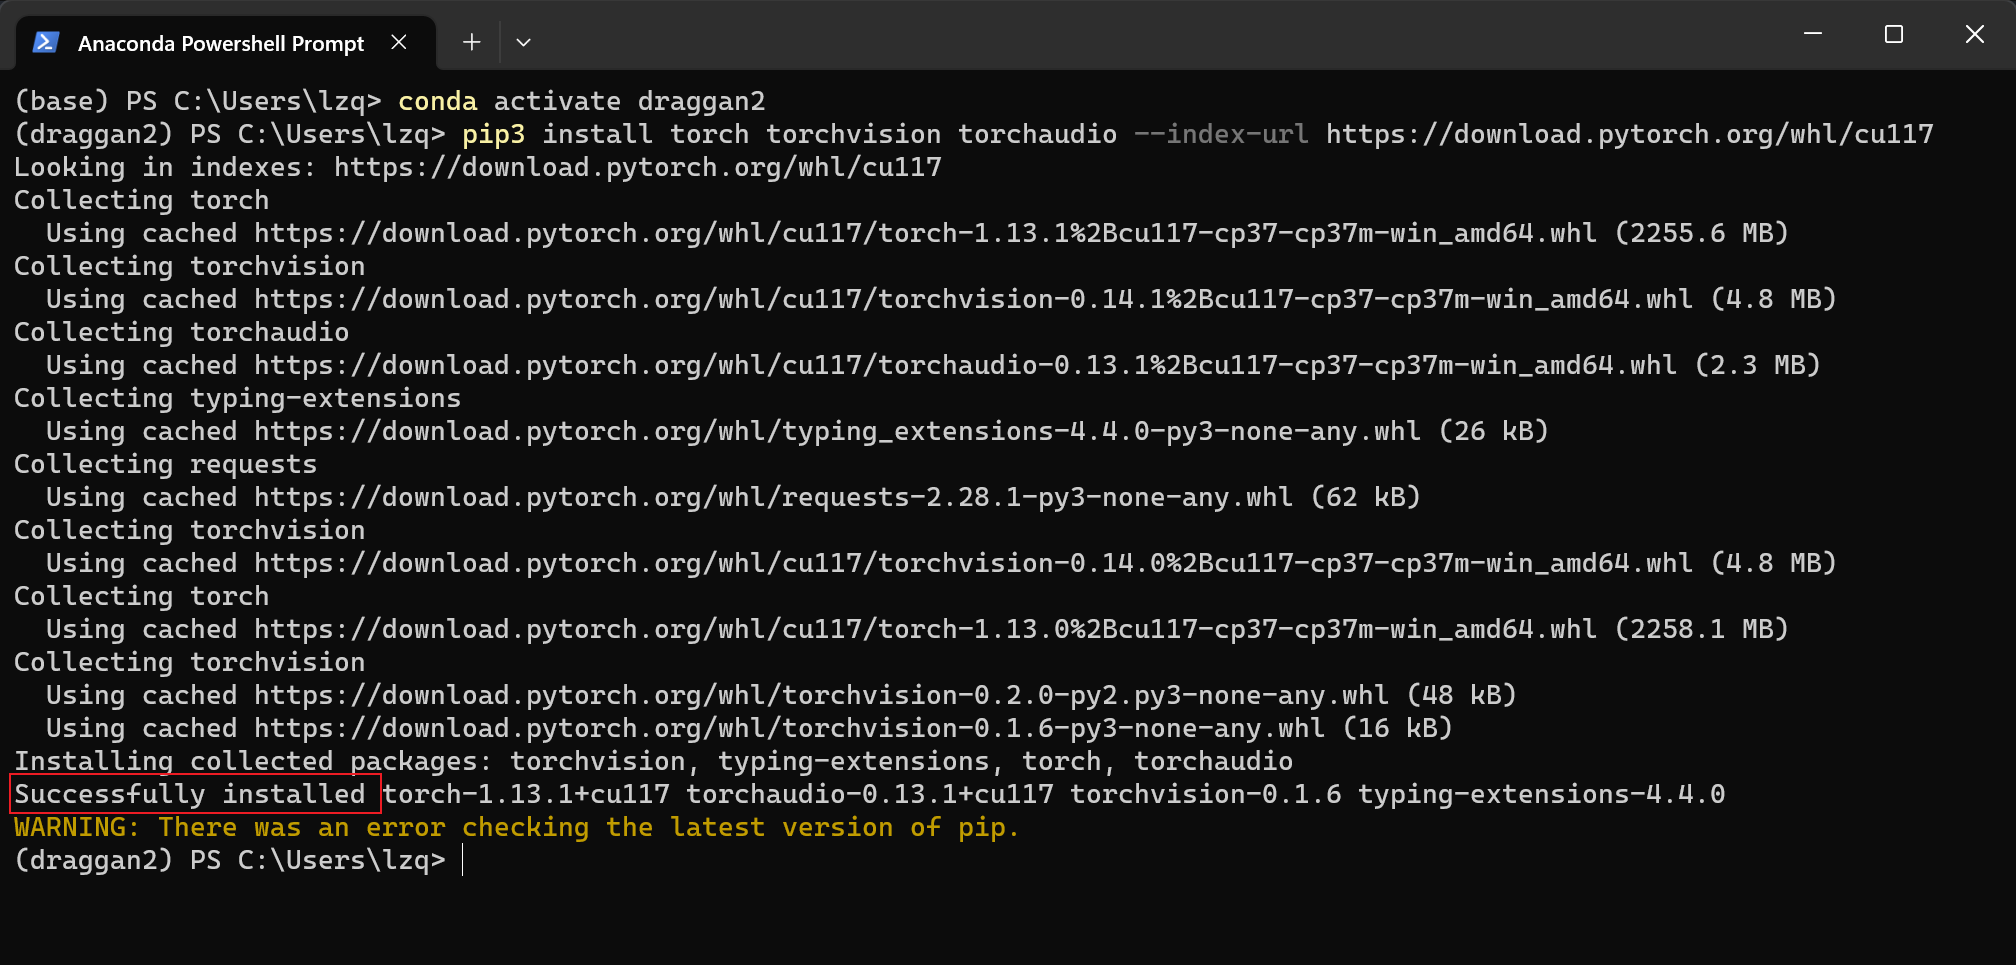
When you see “Successfully installed,” it means the installation was successful. You can disregard any other warnings.
Installing DragGAN #
After the installation is complete, we can install DragGAN using the following command:
pip install draggan
Due to some unknown reasons, the “draggan” package is not synchronized with the Tsinghua pip source. If your pip is configured to use the Tsinghua or other domestic pip sources, you may encounter a “package not found” issue.

In such a case, you can use the following command to temporarily install from the official source:
pip install draggan -i https://pypi.org/simple/
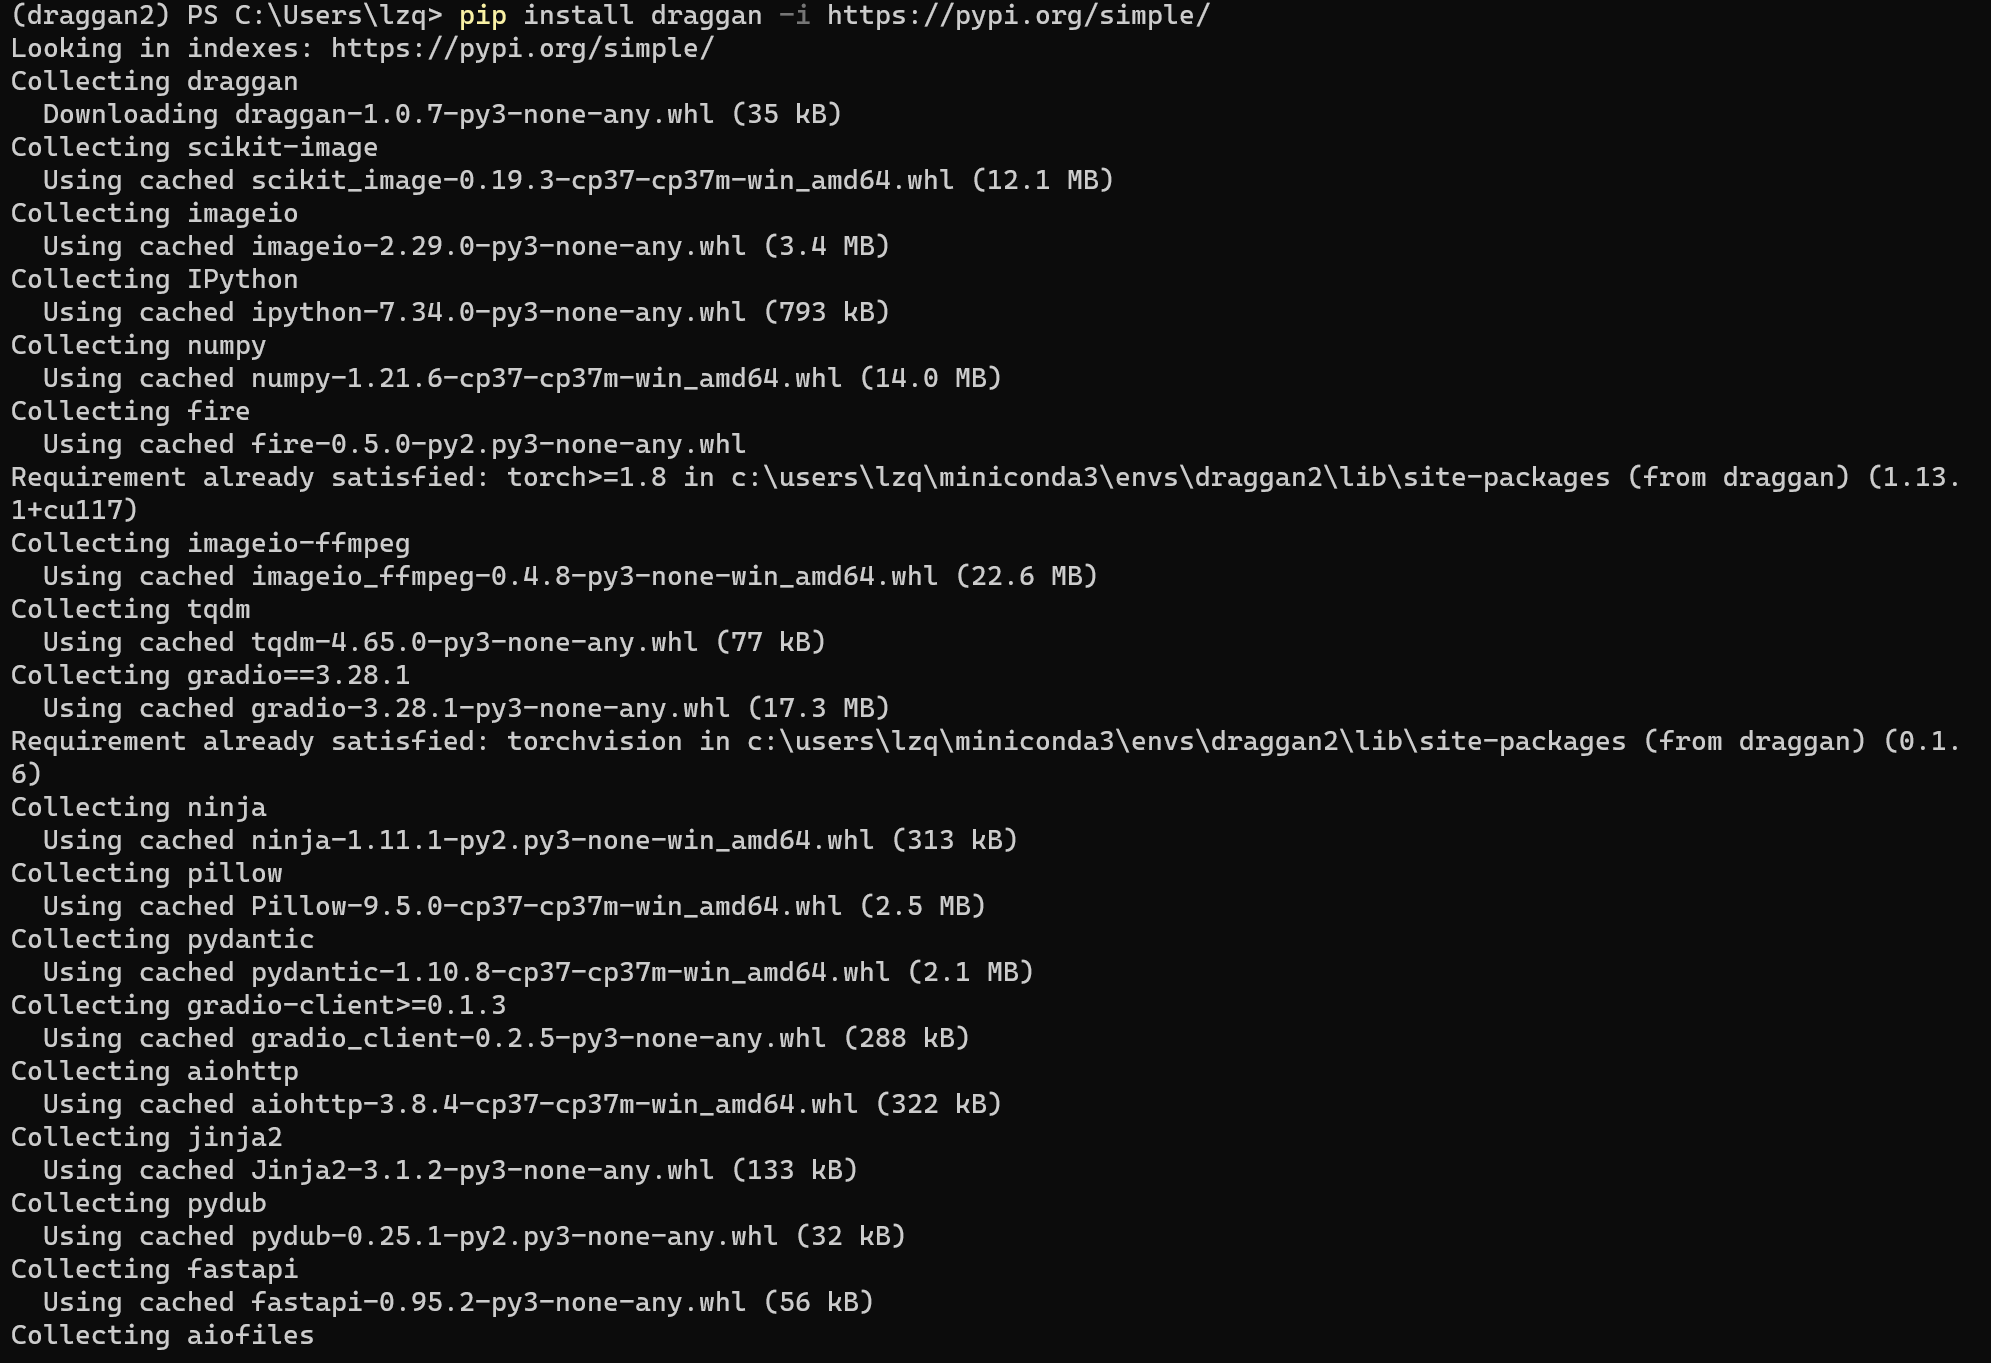
Similar to PyTorch installation, when you see “Successfully installed,” it means the installation was successful. You can disregard any other warnings.

At this point, all dependencies have been installed, and you can proceed to run DragGAN.
Running DragGAN Demo #
You can run the DragGAN demo using the following command:
python -m draggan.web
If you accidentally close the command line, there’s no need to reinstall. Simply reopen the “Anaconda Powershell Prompt (miniconda3)” and enter the Conda command line, activate the environment, and run the command.
conda activate draggan
python -m draggan.web
For users without a GPU, use the following command:
python -m draggan.web --device cpu
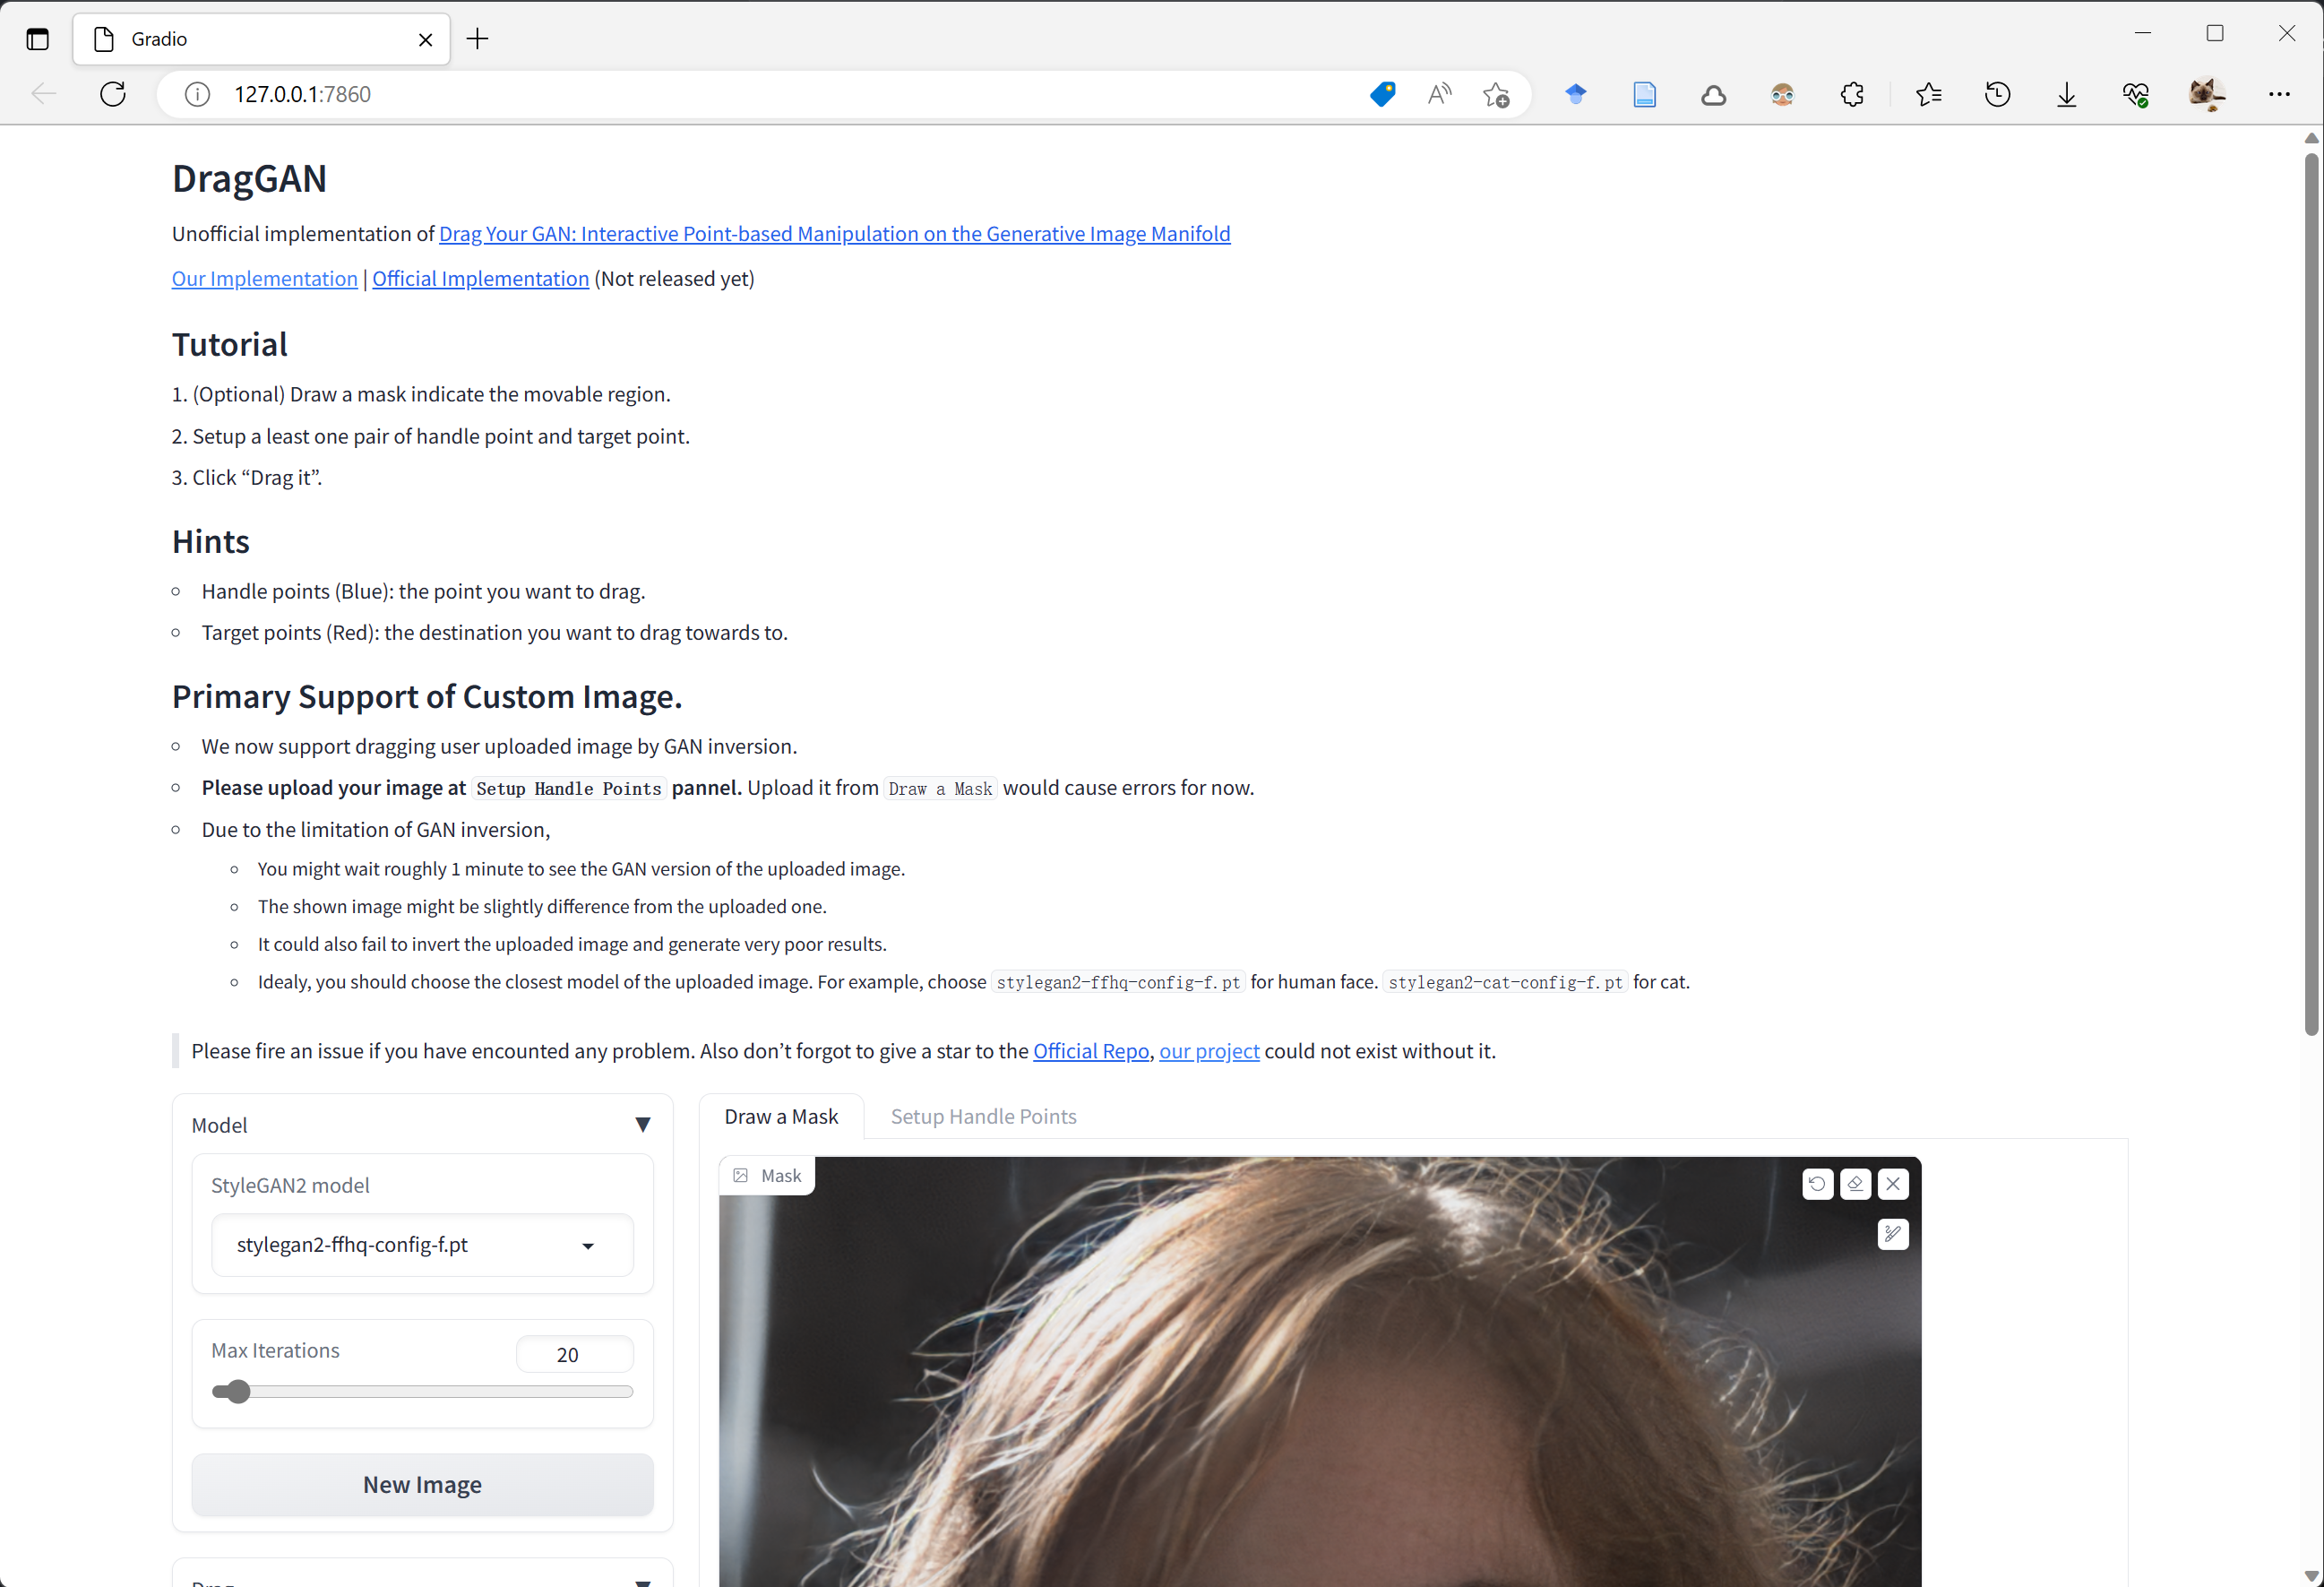
When you see the following URL: http://127.0.0.1:7860, it means the program has run successfully.
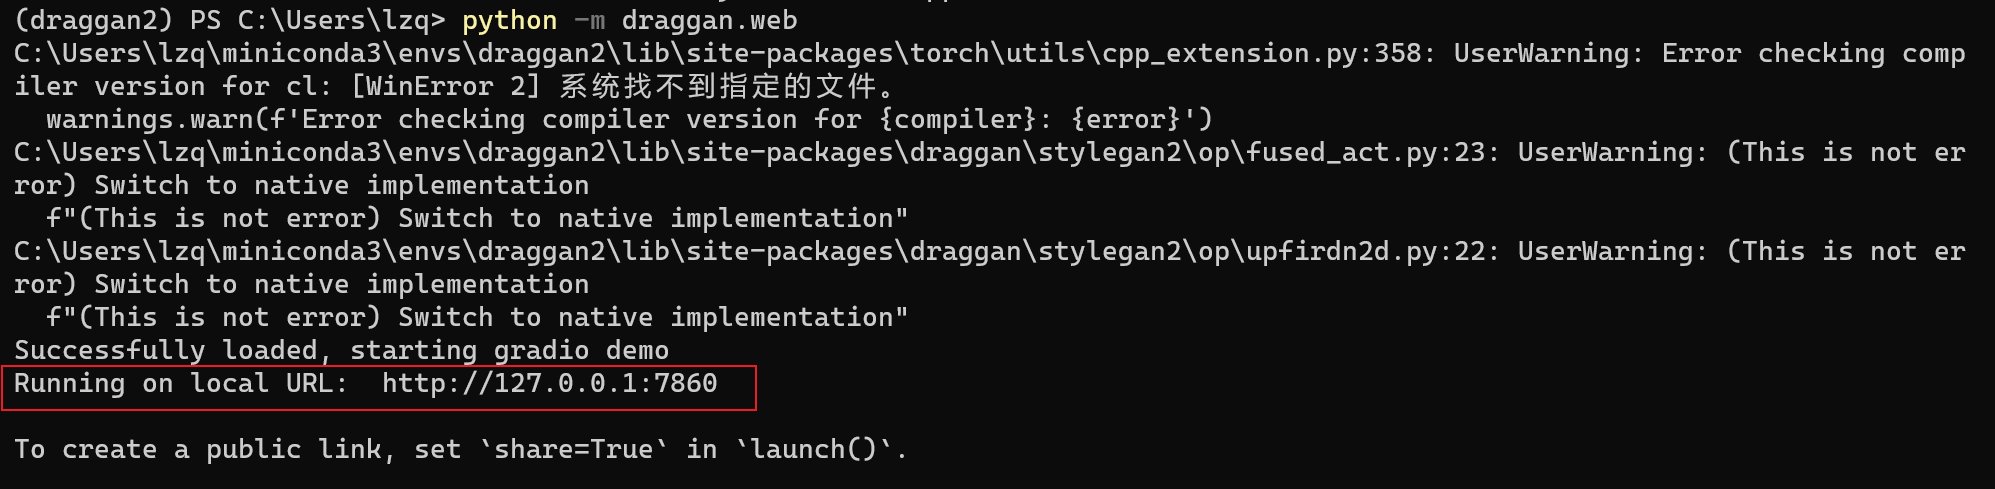
Enter this URL into your browser to access the DragGAN demo.